If your on the right track you should have just come from Angela Lorenz's blog Angs Crafty Cards, if you haven't don't worry there is plenty of time to get back on track by viewing the full line up at the bottom of this blog.
I had a lot of fun with this blog and really wanted to make something a different with these amazing products. To do this I jumped onto youtube to learn something new and stumbled across a technique I just had to try. It is called a Waterfall Card and the youtube tutorial was made by Dreaming About Rubber Stamps <---Click the name to see the full tutorial
Without further delay this is the card I created for this months blog hop! There are a few technical issues I still need to work on but I am excited to have had a play with this new technique and I hope you do too.
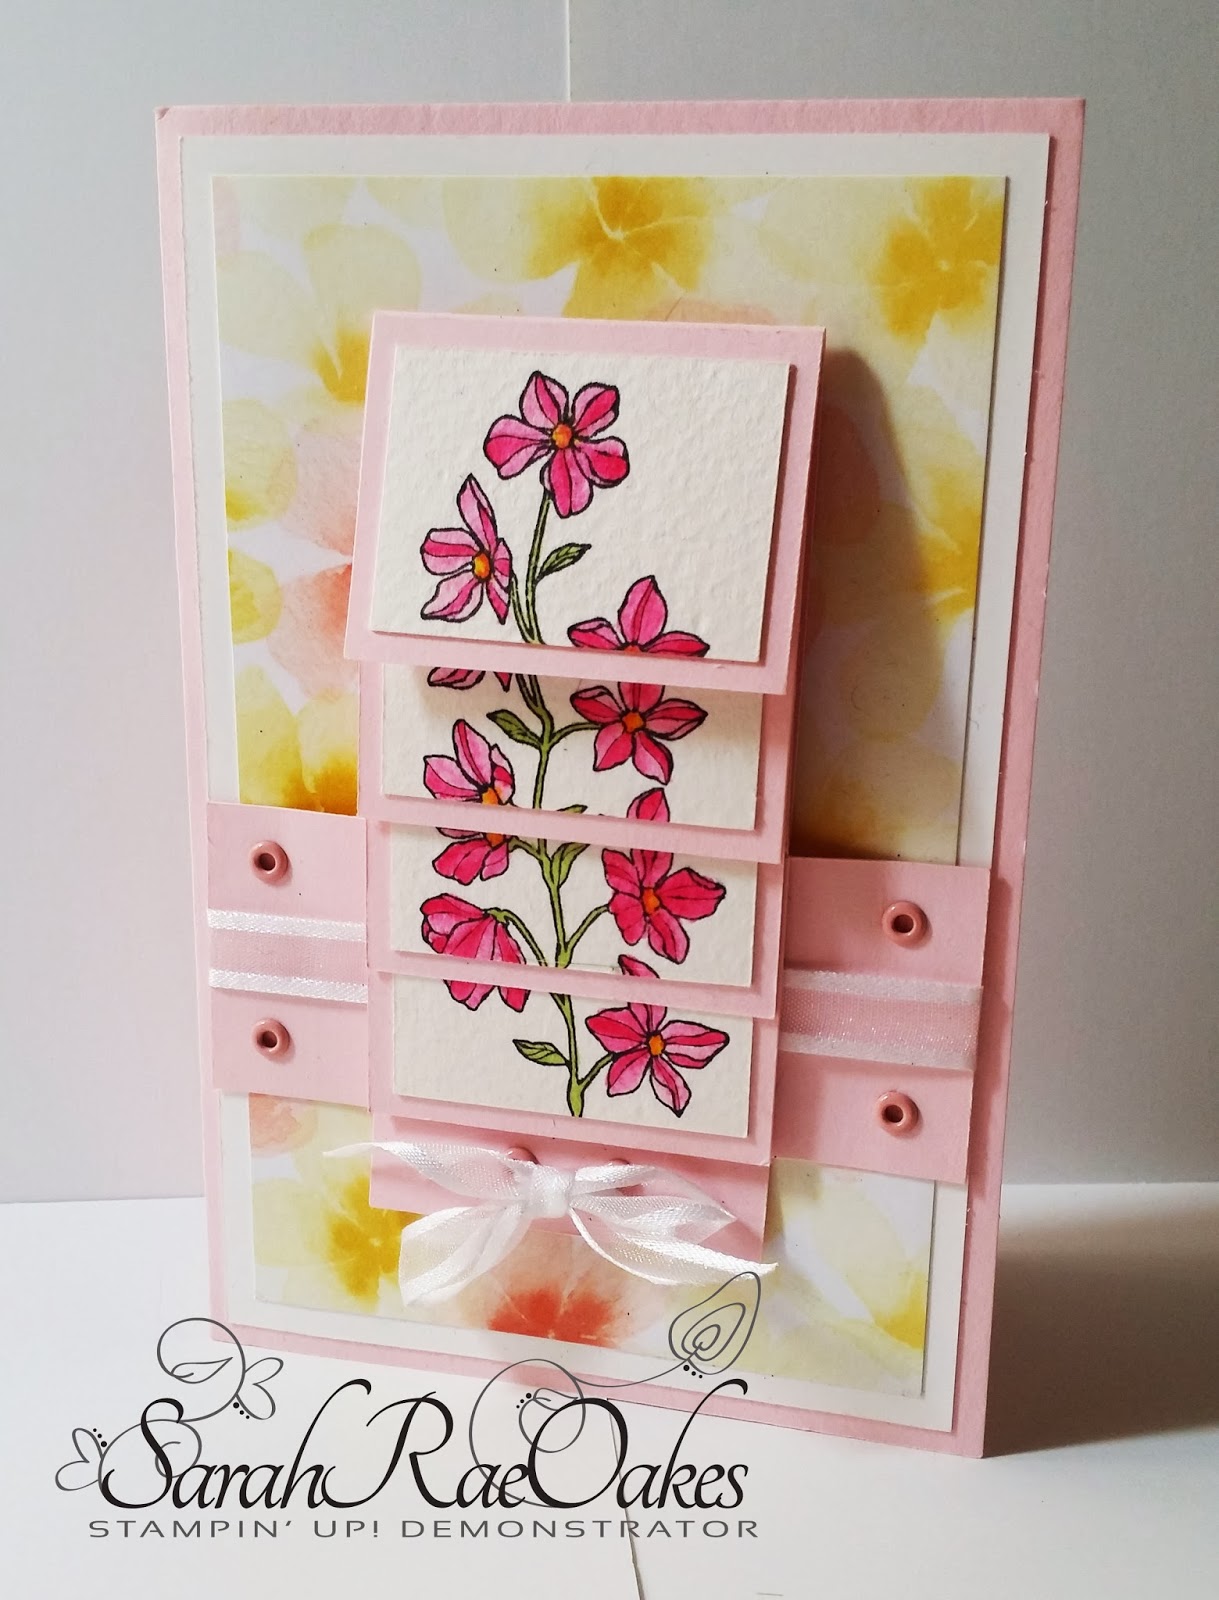
I love the look of this technique and cant wait to try a few different variations of this, I just love flowers and couldn't help but use this new paper from the Occasions Catalogue teamed with one of the stamps from Peaceful Petals

I couldn't resist continuing the beautiful paper into the card to frame whatever message will one day be written here :)
The following Photo's will demonstrate the waterfall effect accomplished with this technique by simply pulling on the ribbon the image folds away to reveal a hidden message.
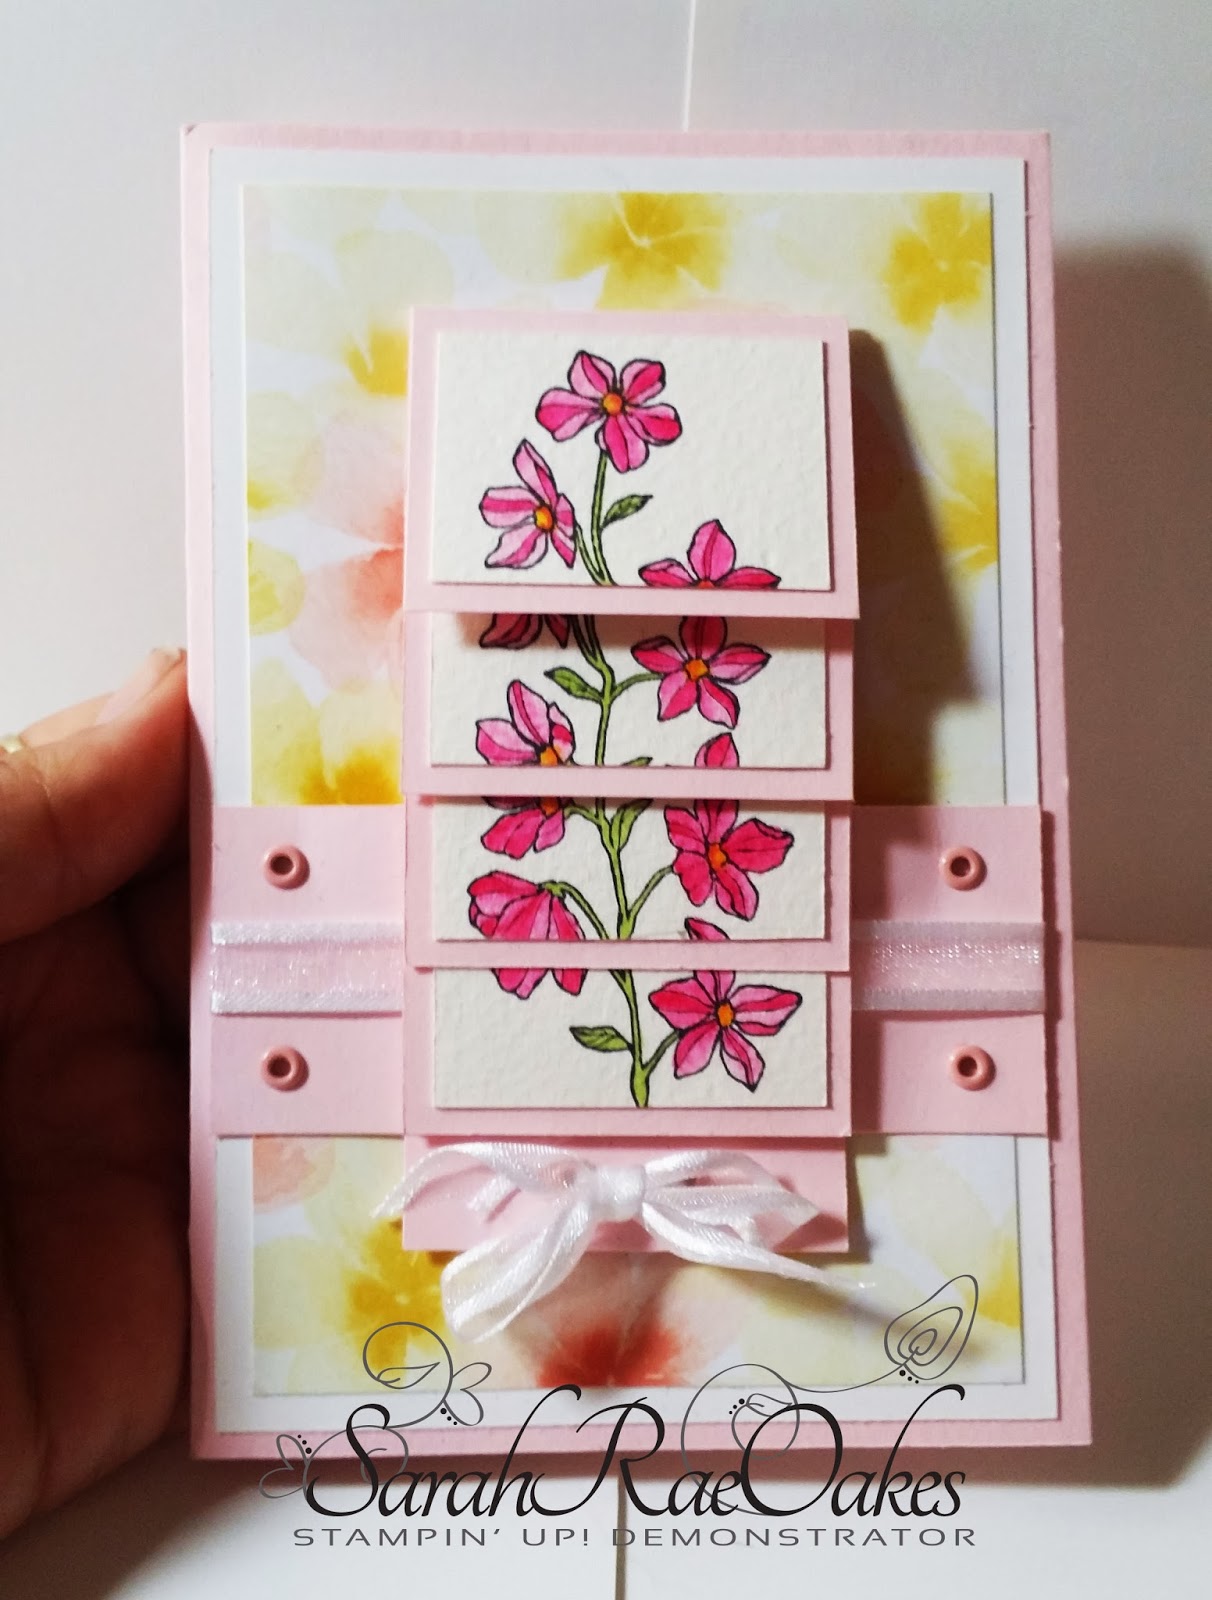


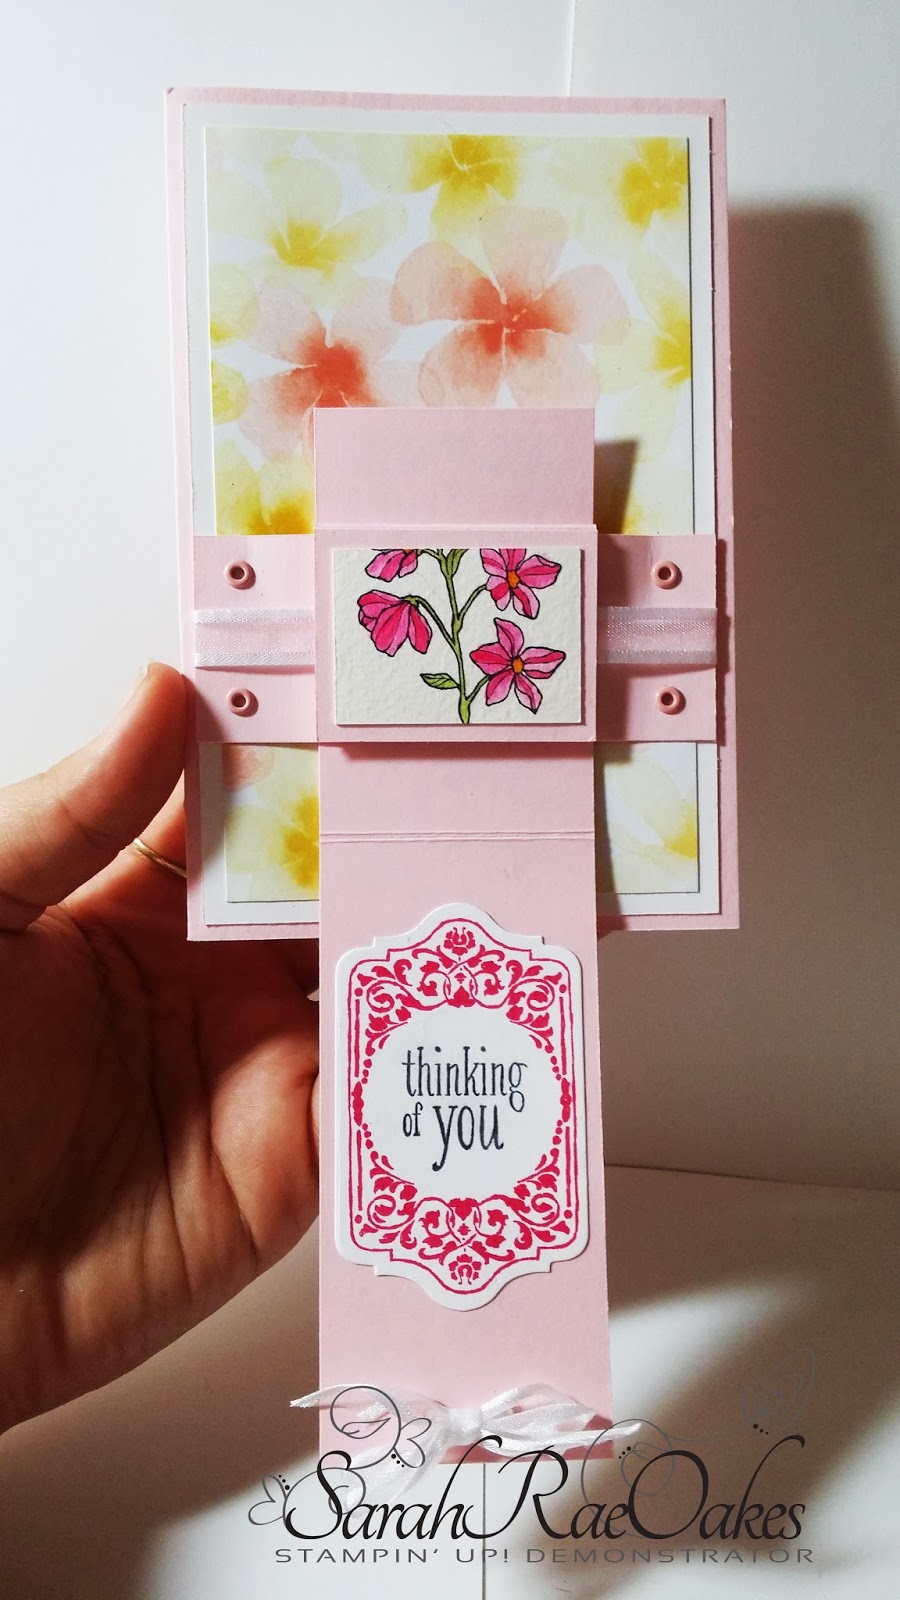
The thing to remember when making this sort of card is to allow a decent amount of room between your pull down card and the brads holding the sides. This was my main error with this card the position of mine are too close causing the last tab to be quite difficult to pull down. We live and learn and I will be keeping that in mind for next time.
Supplies:
Inks
Cardstock
Stamps
Peaceful Petals Clear Mount - Wood Mount
Chalk Talk Clear Mount - Wood Mount
Tools
Blender Pens, Framelits Chalk Talk Collection , Simply
Scored, Stampin'
Trimmer, Stamp-A-Ma-Jig
and Big
Shot
Adhesives
Embelishments
Ribbon, Eyelits
Thank you for taking the time to visit my blog and this blog hop I hope you enjoyed your visit and maybe even discovered a new technique. Now it's time to pass you along to the next blog in the line up Aroha Mills-Barlow at ScrapTasticMama
Have a wonderful February and I look forward to seeing you back here for the March Blog hop
Full Line Up:
1. Sue Wdowik at Nigh Nigh Birdie
2. Carolina Evans at Studio Evans
3. Kate Benade at Stamping with Kate
4. Tamie Holt at Tamie Luvs Craft2
5. Teena Maher at Stamping with Teena
6. Barb Conroy at The Stamping Queen
7. Angela Lorenz at Angs Crafty Cards
8. Sarah Rae Oakes at Stampin' Up! with Sarah <----You are here
9. Aroha Mills-Barlow at ScrapTasticMama
10. Kylie Bertucci at Crafty Kylie
11. Deb Raymer at DebzHouse
12. Michelle Mills at hello day cards
13. Alex Trofimov at Pink Crafty Mama


